Hey guys, today I woke up inspired to write you about some photography tips & tricks for your trip to Amsterdam. I understand not everyone travels with a camera, so I will be focusing on what you can do with any device you bring along.
I believe there are five golden rules for any photography enthusiast, but these will adapt to what you are looking for in your images. Let me explain a bit about each one and how I incorporate them into my body of work.
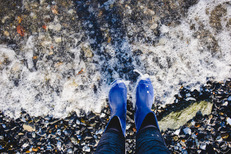
Golden Hour beauty
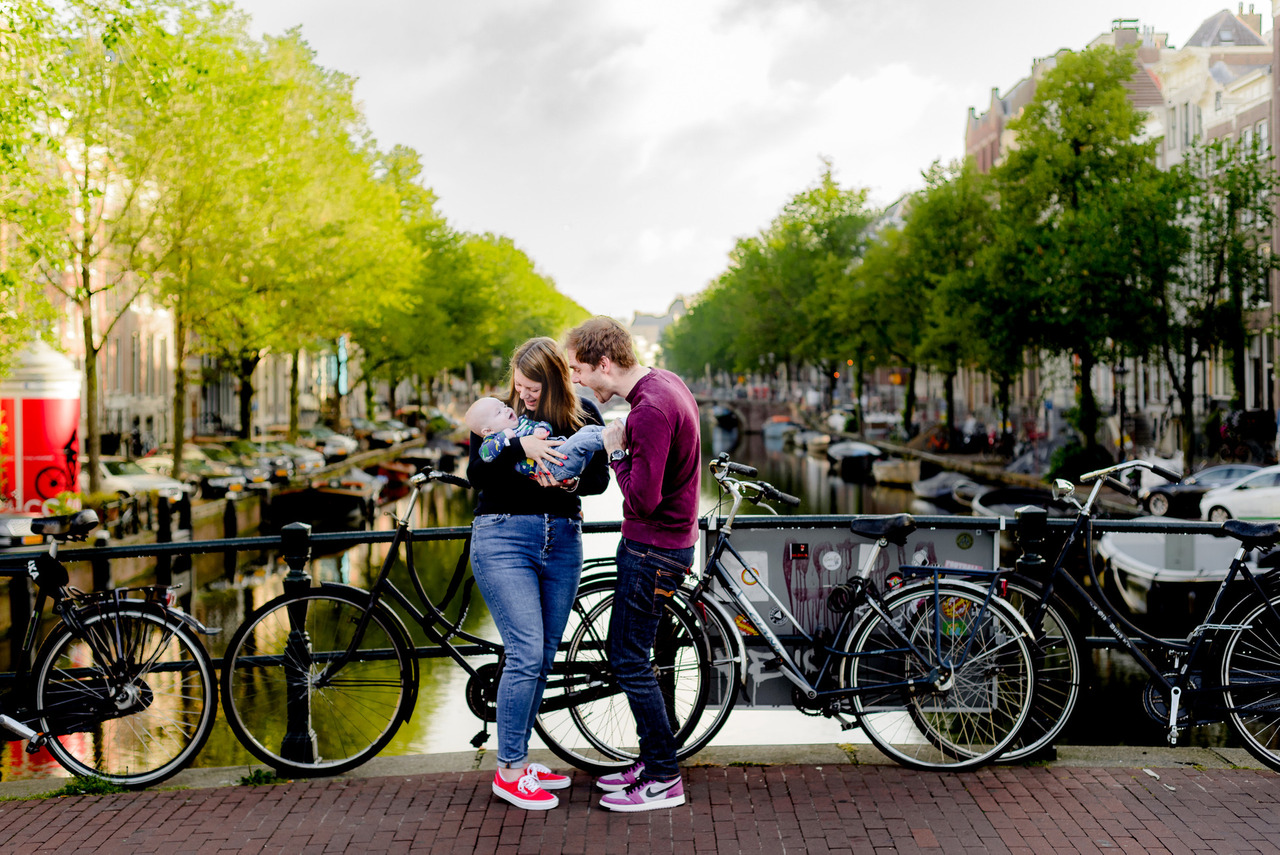
The 'golden hour' in Amsterdam, just before sunset or after sunrise, is a magical time for photographers. Pros? The soft, warm light bathes the city in a stunning golden hue, making everything look more beautiful. It's perfect for capturing the romantic canals. Plus, these hours are less crowded, giving you more space to work your photographic magic. As for cons? It's a relatively short window, so you'll need to plan and be ready to shoot quickly. But the resulting photos are worth it with their dreamy quality and rich colors!

Picture captured for Flytographer during the afternoon Golden Hour. Click here to go to the blog post.
One app I use daily to set up my photo sessions in Amsterdam is Golden Hour. It's easy to set it up for the city you are in, not only Amsterdam and it will help you plan your routes according to the light hours shown on the app. Also, please don't forget to check a weather app - I use Buienradar. Rain is a thing in Amsterdam, so please consider that.
Picture captured for Flytographer during the afternoon Golden Hour. Do you want to see more of this photo session? Click here to go to the blog post.
My favorite go-to time for pictures is not Golden Hour, and this is because I want to give my clients a range of photos and the assurance they will have beautiful images without relying on a golden hour that might not happen. It's Amsterdam weather, anyway. If we have 60 minutes or more, I will make the beginning or end of the session coincide with the golden hour. The first session of the day will be scheduled in the best time available.
Picture captured for Flytographer. Here, you can see the difference in color between the golden hour pictures and the ones captured in daylight.
Do you want to see a perfect golden hour in Amsterdam? Check out this Reel I created a while ago:
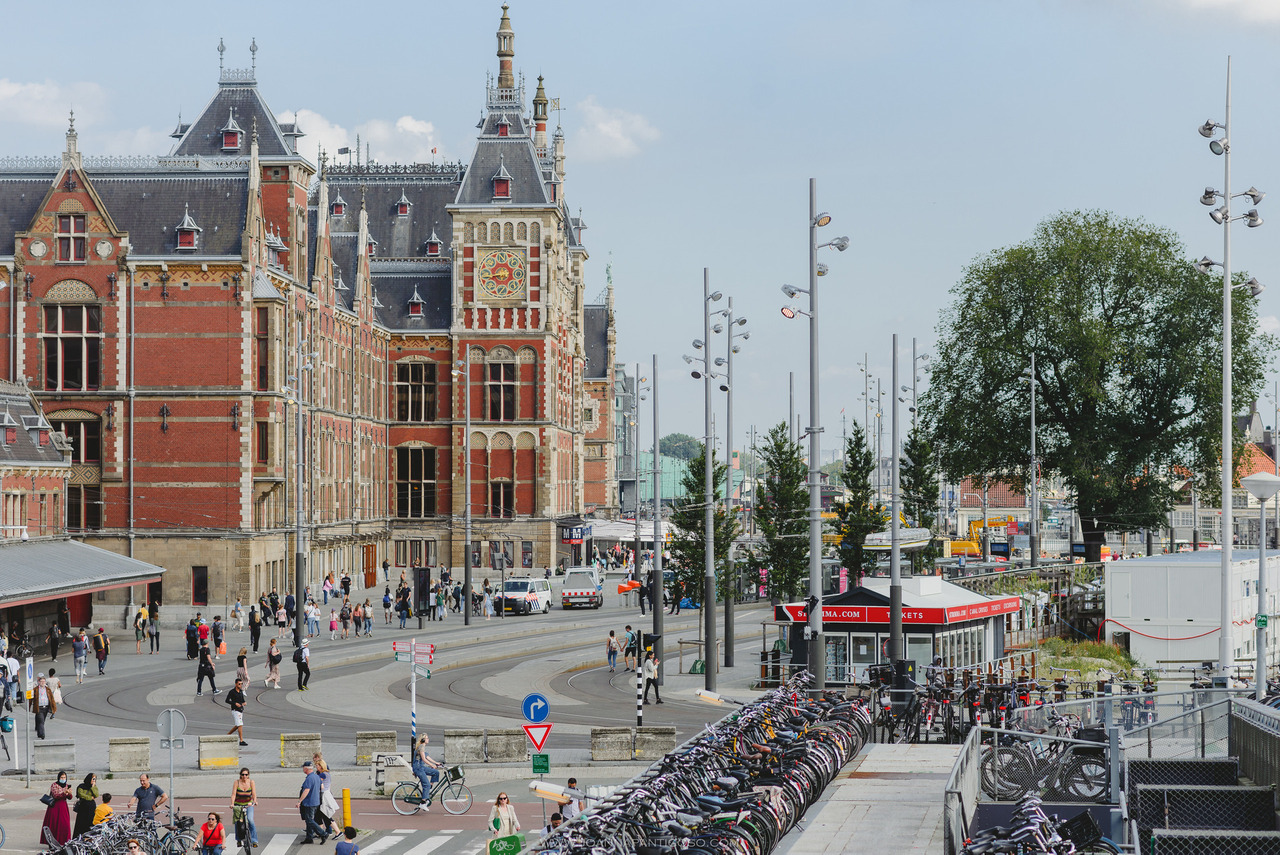
Iconic locations
When capturing the authentic Amsterdam vibe, you'll want to explore the city's historic canals, charming houses, and nearby streets. No matter the area you are located in, you will find fantastic views, but let me pinpoint three unique places:
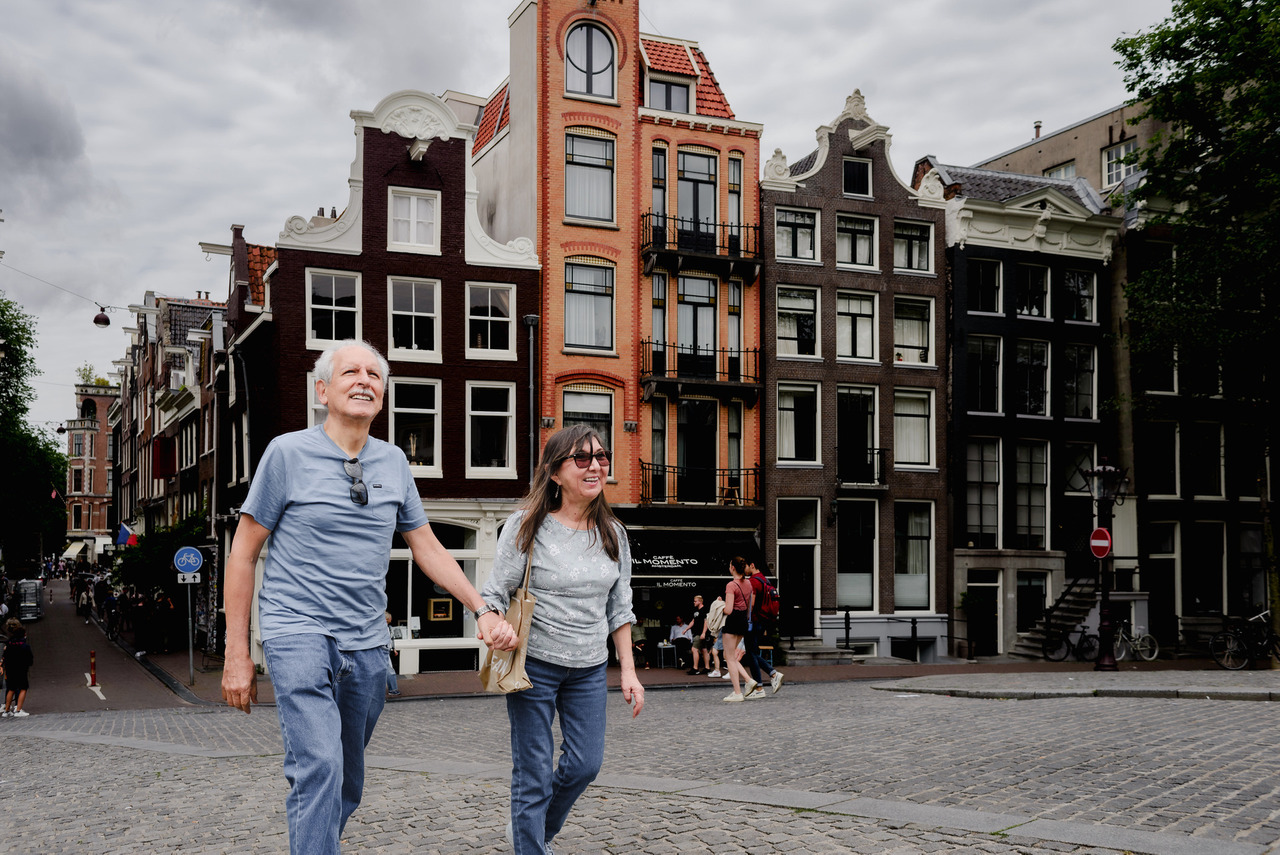
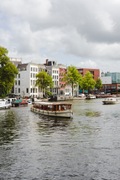
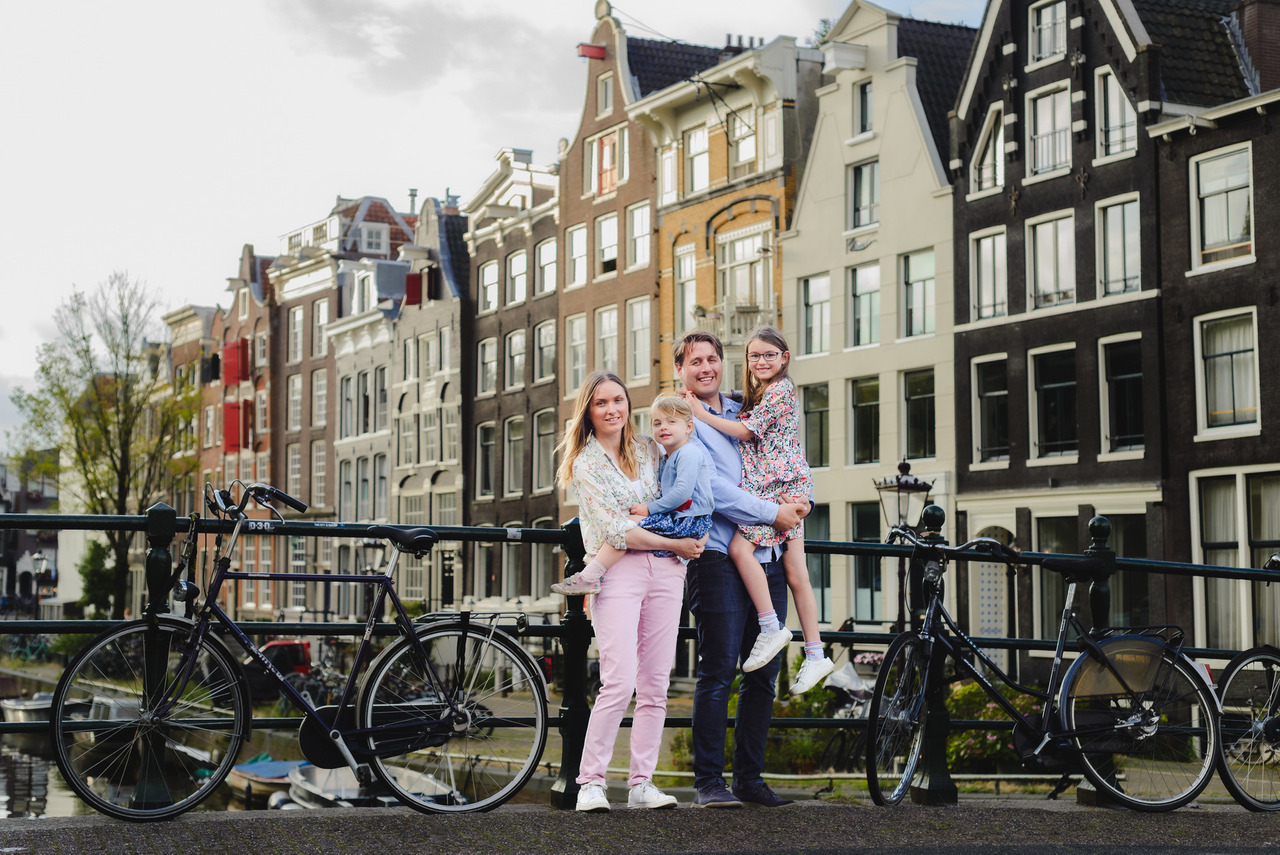
These are my parents on their first trip to Amsterdam. The picture was captured in Singel canal.
Singel canal, originally constructed in the early 17th century, was initially designed as a defensive ditch surrounding the medieval city of Amsterdam. Over time, as the city expanded, it became an elegant waterway lined with beautiful houses and gardens. Start always at this canal and go further away in history to see how the city evolved. An ideal photo session will involve walking to the different canals.
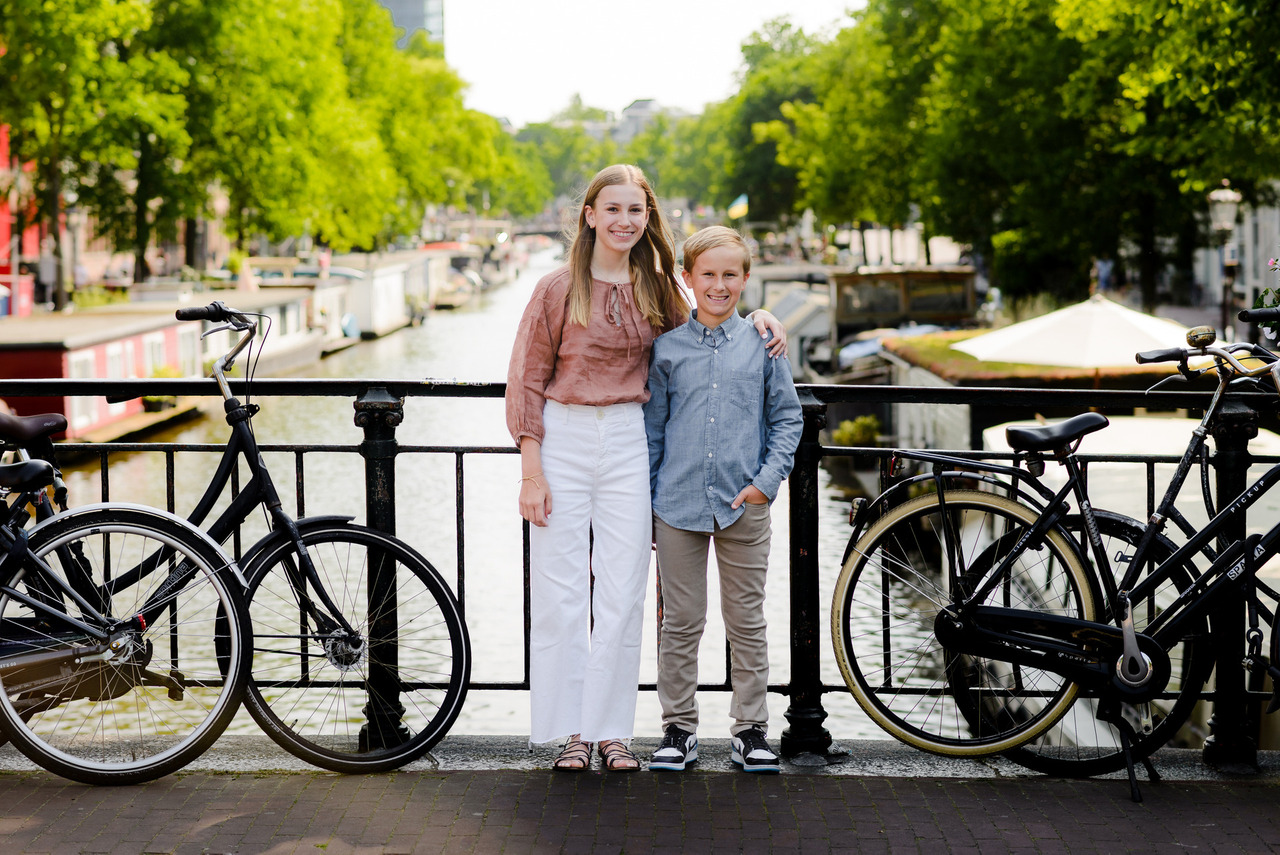
Keizergracht, from my point of view, is the most beautiful of them all. It's lined with old houses and pretty bridges. The buildings look warm and lovely when the sun shines on the water. It's like going back in time. Photographers love it because every picture looks like a work of art. Keizersgracht is a perfect example of Amsterdam's charm and a fantastic place to take photos.
Picture captured for Flytographer. Here, you can see how soft the morning light is at 7 a.m. in June.
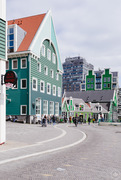
Houses with less trees in the background. I once had a client who asked me for a street without trees. This was for a photo session at the beginning of March, so most trees had no leaves. Now, this area is one of my most used for photo sessions, as you can see how impressive the canal houses are.
Both pictures were captured for Flytographer. An area with fewer trees is preferable from December to March when it is less green outdoors. Want to see more of this photo session? Click here for the blog post.
Rule of Thirds
One of the most straightforward yet powerful techniques is the "Rule of Thirds." It's a game-changer for adding depth and interest to your Amsterdam vacation snapshots. Let me break it down for you in a way that's easy to understand.
Imagine splitting your photo into a grid with two equally spaced horizontal lines and two equally spaced vertical lines, creating nine equal parts. You can set this on your phone as well. The idea is to place your subject or essential elements along these lines or at their intersections. Why? Because this arrangement is visually appealing and naturally draws the viewer's eye to the critical focal points.
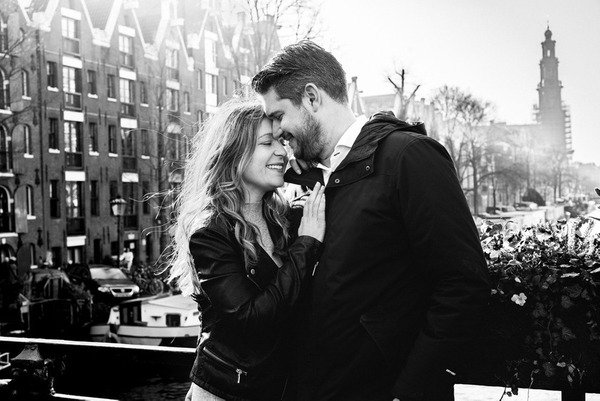
For example, see the pictures below, where I added the leading lines to explain the rule of thirds.
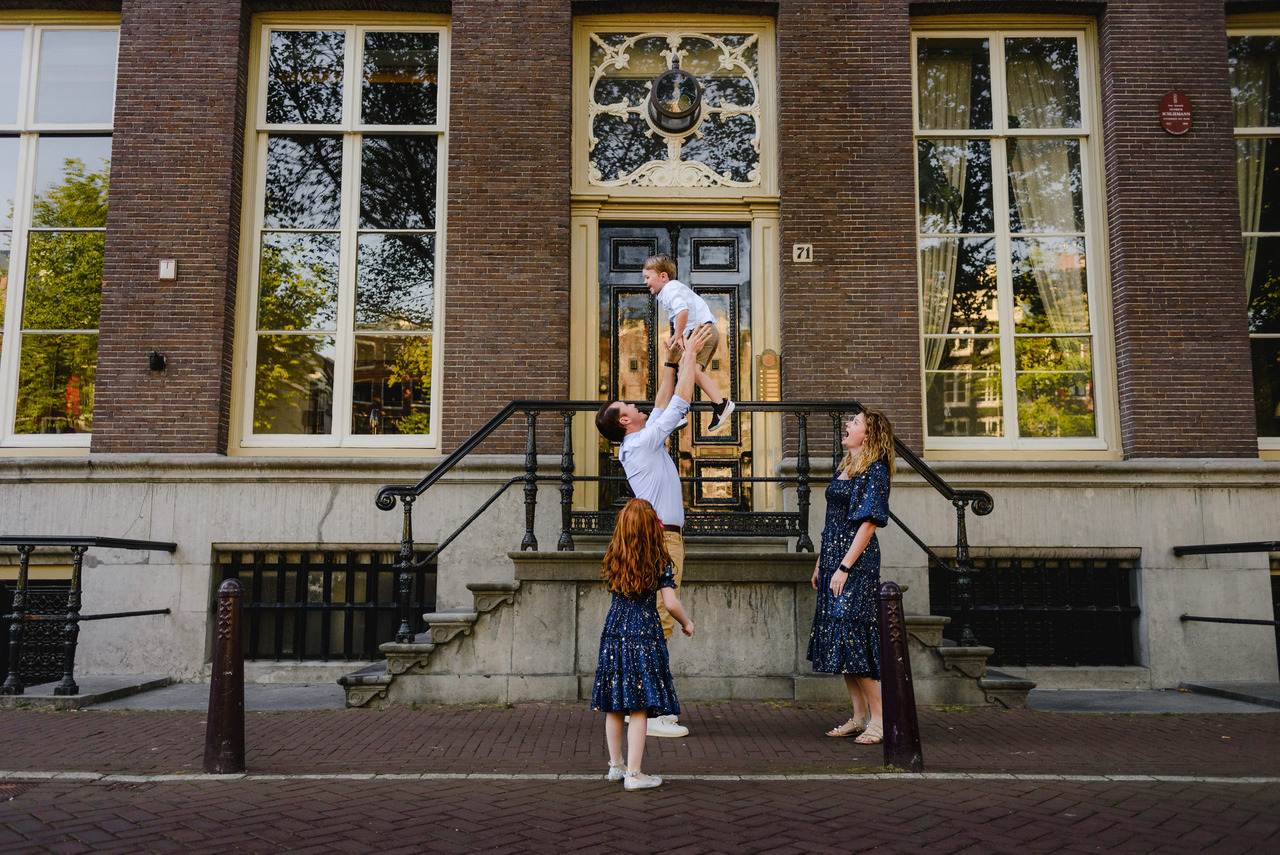
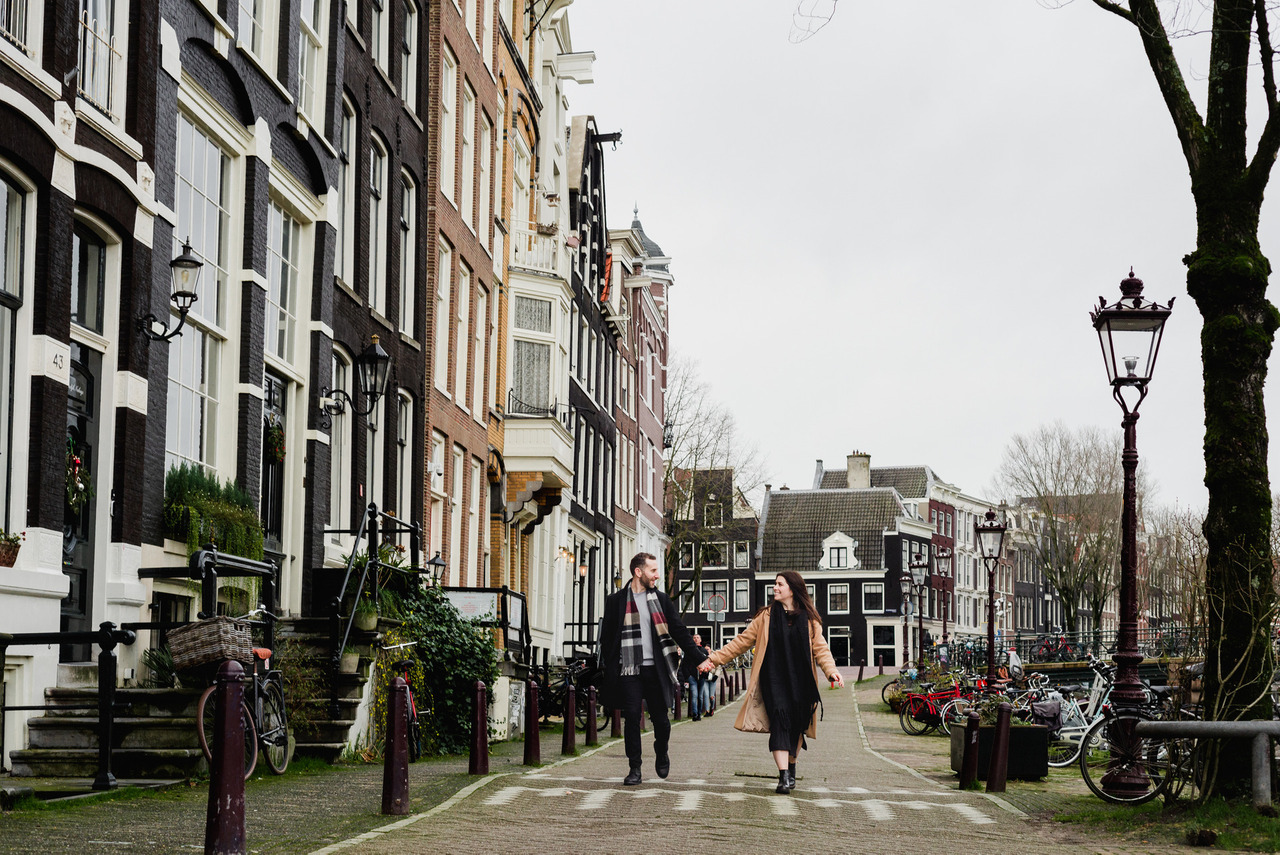
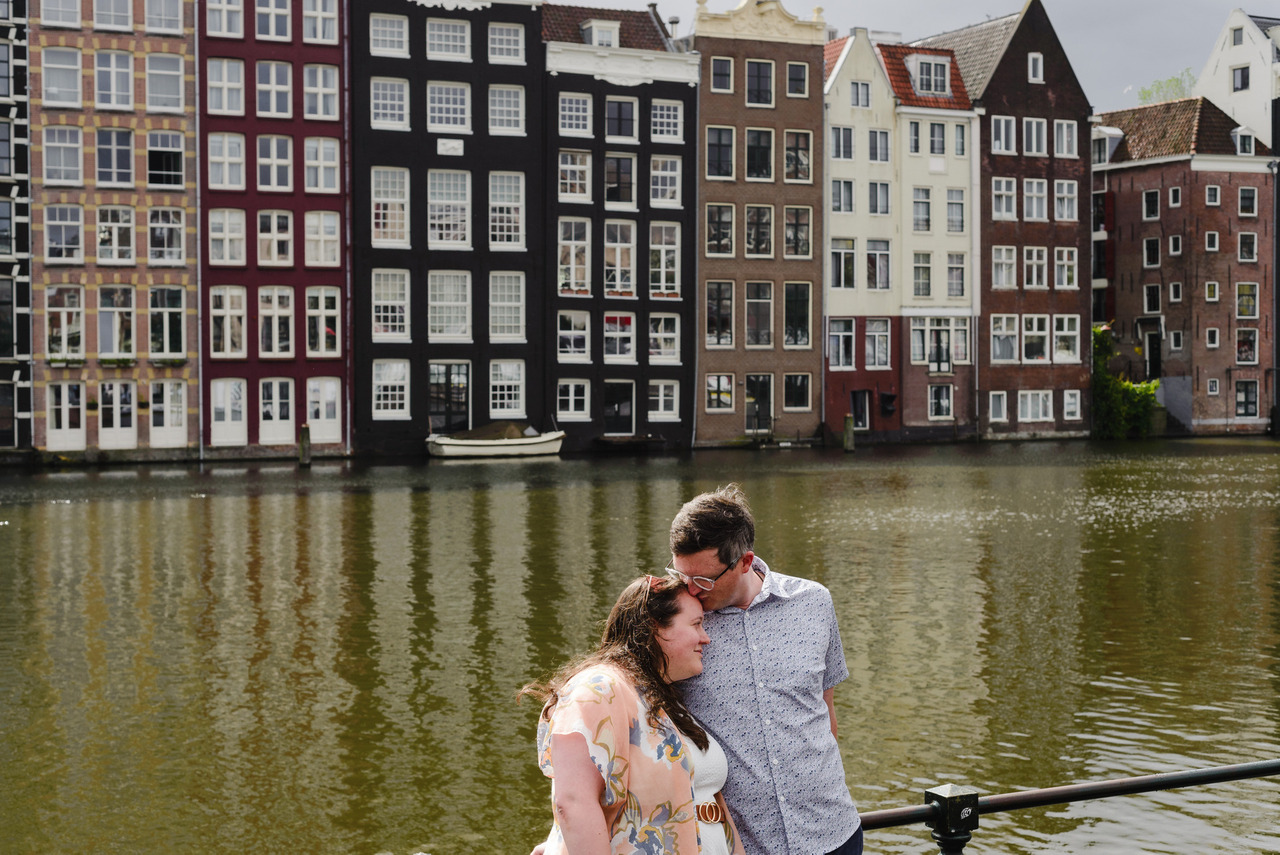
Here, you can see the key elements of the buildings on the leading lines. These leading lines frame the couple. Picture captured for Flytographer.

A hand will always be a part of the body our eyes tend to look at. As we have an umbrella, the best option is to position the umbrella at the intersection of the leading lines to capture the environment. The position of her body towards the line makes the need to have more space on the other side of the picture to create balance. I captured this picture during a surprise engagement proposal photo session on a stormy day in Amsterdam for Flytographer. See more of this photo session on my blog.
The Rule of Thirds is about creating balance and a sense of flow in your pictures. It's a simple but effective tool in your photography kit to capture the essence and beauty of this incredible city.
Street Photography: Capturing the Pulse of Amsterdam
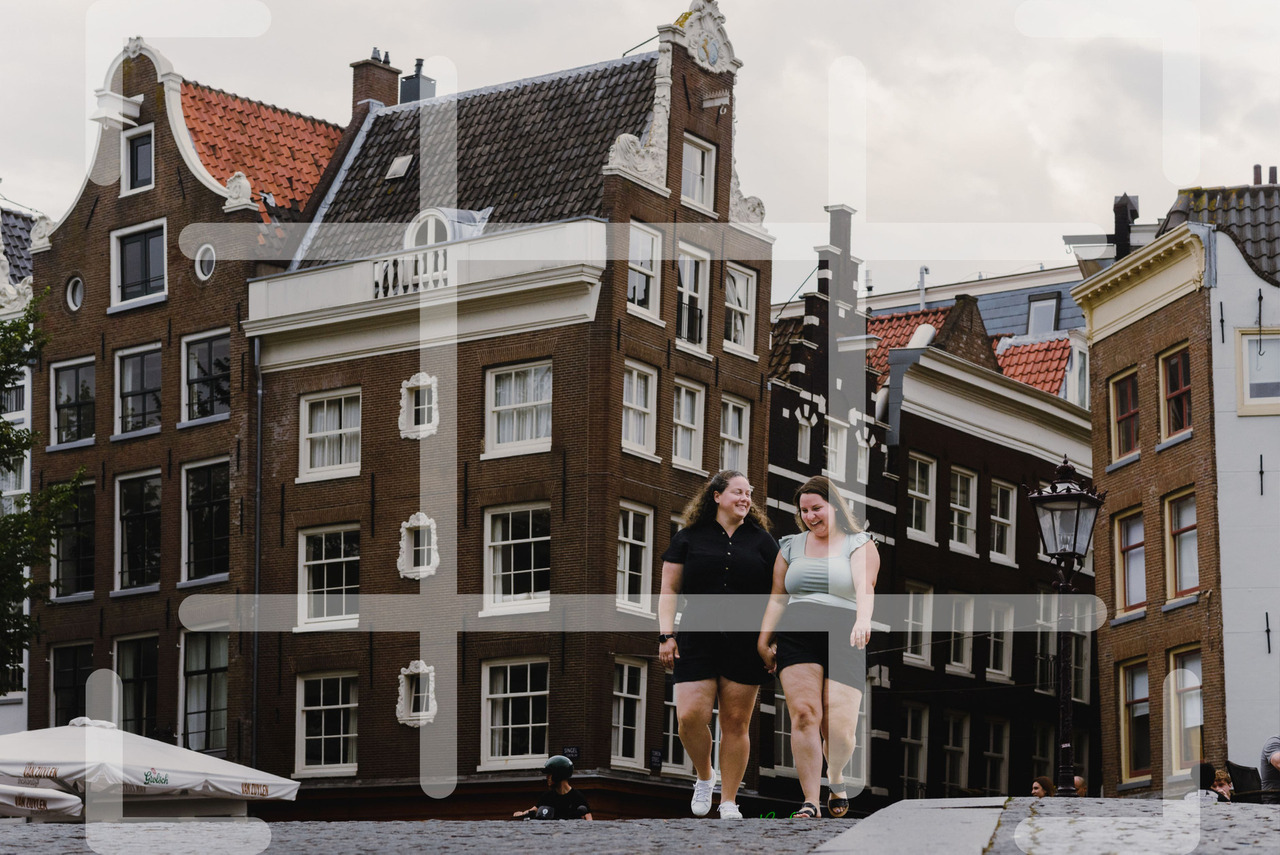
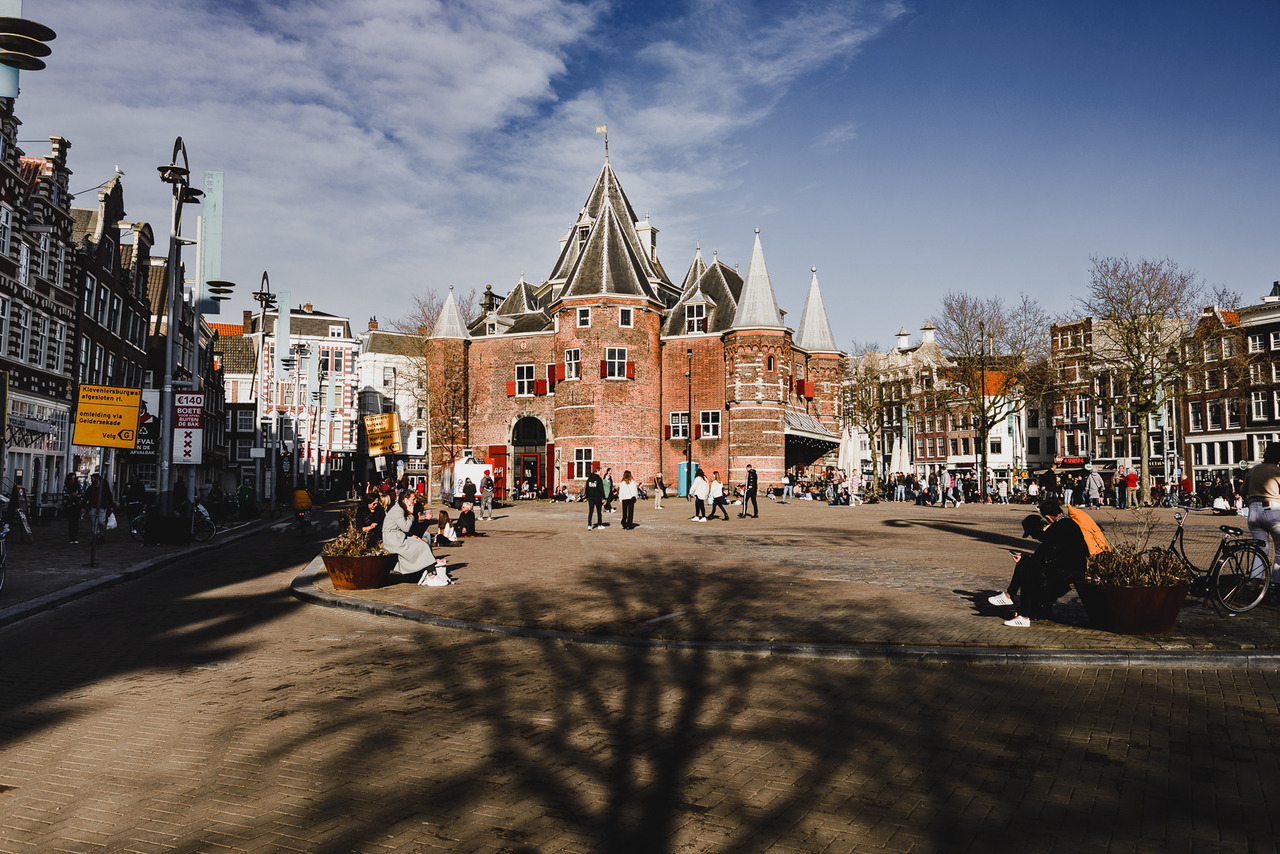
For those who crave a deeper connection with the heartbeat of Amsterdam, street photography is your gateway to the city's soul. It's a dynamic and spontaneous approach that allows you to document the vibrant street life and the people who make Amsterdam unique. Don't hesitate to initiate a friendly conversation before you aim your camera. A warm smile and a polite question can lead to the most authentic and candid moments.
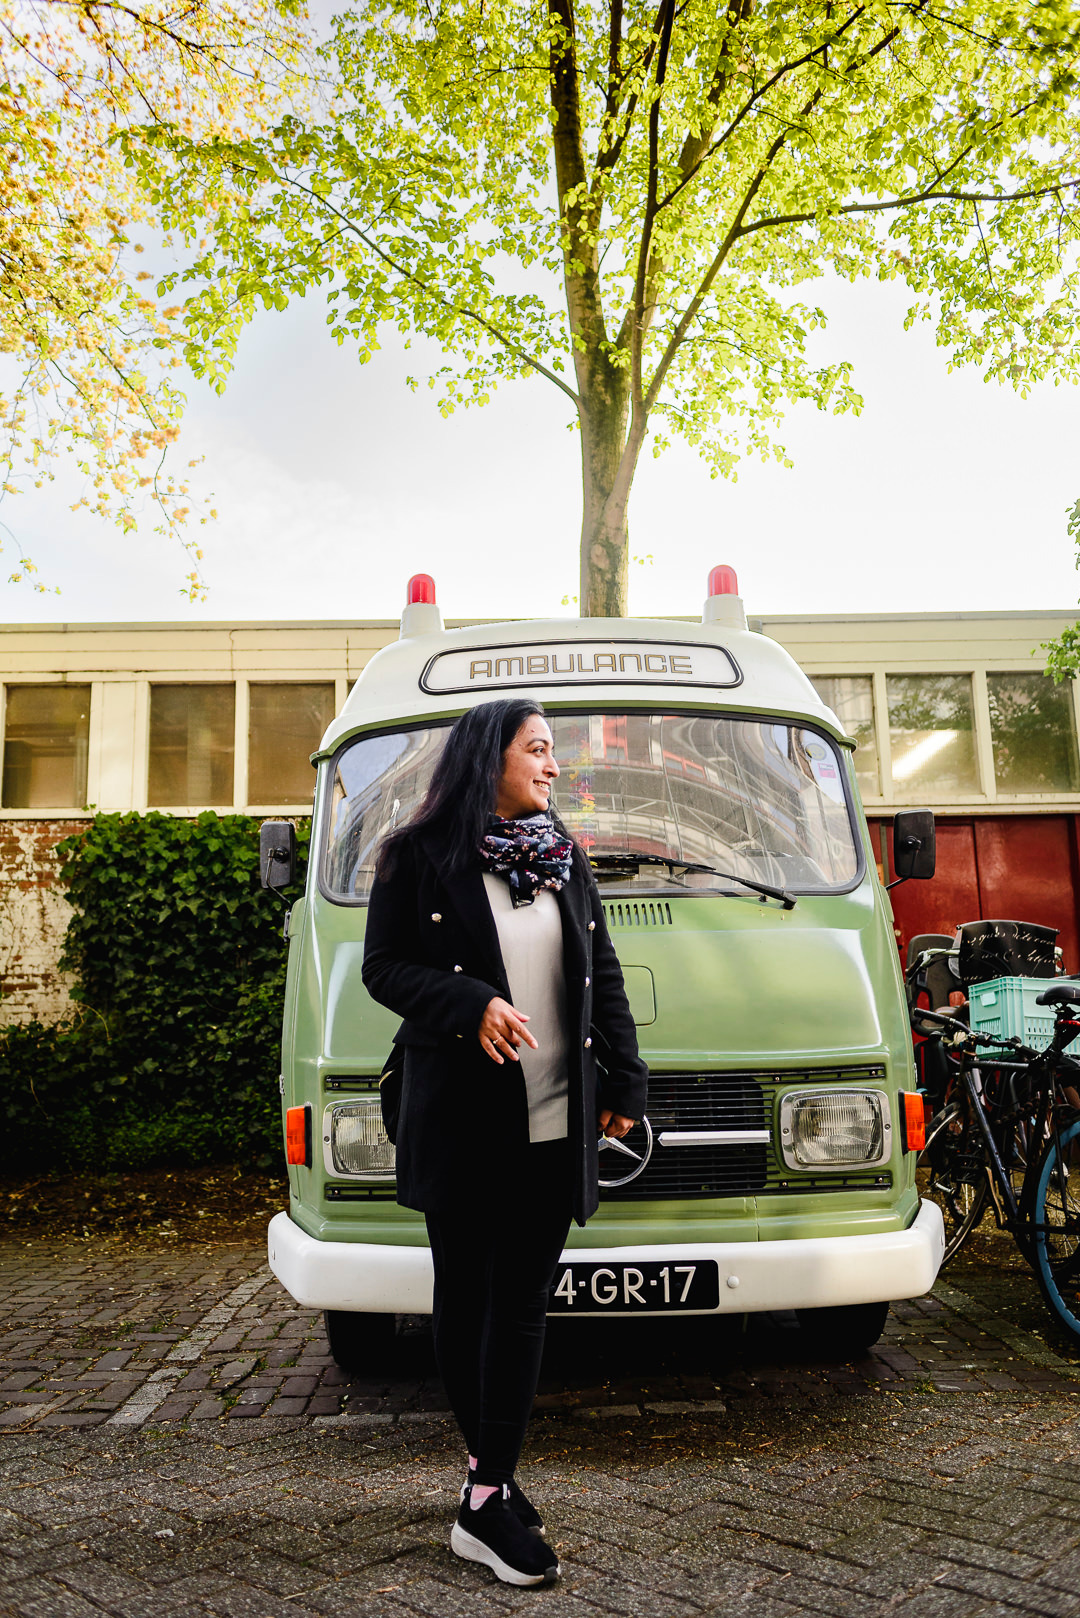
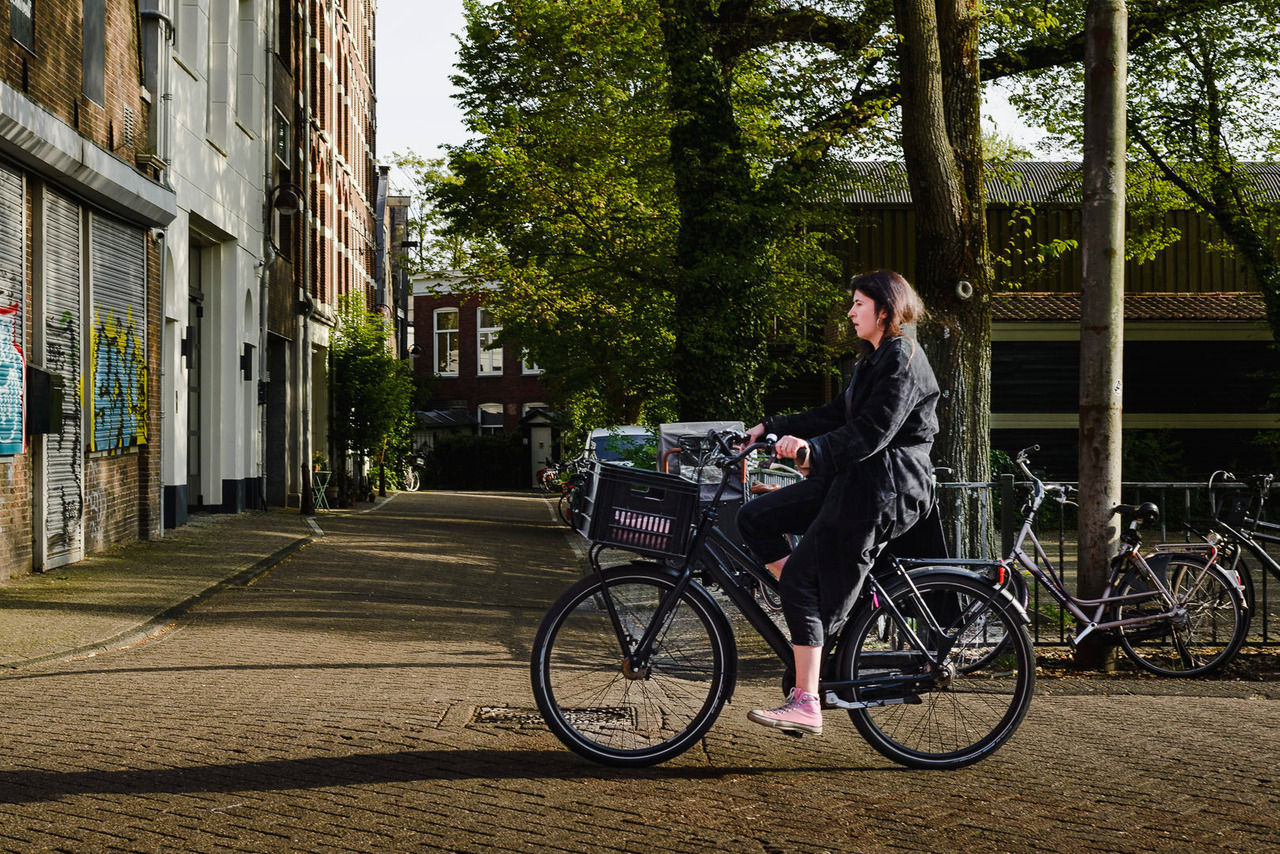
Second, embrace the candid shots. Don't always ask for posed photos; focus on capturing genuine expressions and interactions. Street photography is about unscripted, natural moments reflecting the city's character. I am usually shy to ask people on the street for pictures, so I carry my 28mm lens and walk, capturing the big image, the vibe, and how it feels to be in Amsterdam.
Lastly, be patient. Street photography can be unpredictable, but that's part of its beauty. Don't get discouraged if you don't nail the perfect shot on your first try. I usually aim for 5-10 pictures worth posting after a 2-3 hour walk. And then, I mostly post 1-3. Keep exploring, be in the moment, and eventually, you'll capture the essence of Amsterdam's vibrant street life in all its glory.
We host a monthly Photowalk, usually on the last Saturday of each month, or you can hire the Photowalk service in which I help you while we walk around Amsterdam to capture the best pictures of your trip. This is you making the pictures while I'm giving you all my tips and tricks while taking you on a walk to the best spots in Amsterdam.
Editing Tips for photos on your phone
Editing your vacation photos on your phone can be a breeze. I'd recommend popular apps like Instagram, VSCO, and Snapseed for easy yet effective photo enhancements. These apps offer filters, cropping tools, and other features to make your photos pop. Just remember not to go overboard with filters; subtlety is key. Play with brightness, contrast, and saturation to bring out the best in your Amsterdam memories. Don't forget to preserve the authenticity of your shots.
In a bit more experience level, you can also try these apps that are my favorite and most used for my daily life captures:
Lightroom mobile: I use it for photos and videos. Once you have the media on your app, first check the presets they have to take you to the closest you want your picture. You can manually adjust them as well. The most convenient feature is that you can copy and paste the preset or the adjustments you have made in all your photos and videos. Only remember to export them at the end of the process. Then, everything will have the same look for posting later.
Capcut: This is my second step and usually for putting videos and photos together -previously edited with Lightroom mobile -in a 15-30-second video compiling the events. This helps a lot, reducing the number of stories and telling the story of what is happening in a day.
You can see a video in which I edited everything with Lightroom mobile first and then created a Reel with Capcut:
I hope you like this list, and if you have any other tips, share them with us. I would love to do a second part using your additions.
Until next time in Amsterdam, happy editing, and let those memories shine! 😊
Joanna, your Amsterdam photographer
Enhance your Amsterdam memories with your personal photographer. We provide photo sessions for couples and families, along with full-day Lifestyle routes, combining a guided tour and photography to capture your trip beautifully.